Pedicures may be the single most popular beauty treatment at spas and salons. After all, who doesn’t want to have their feet rubbed down and treated by an experienced and talented esthetician? Pedi’s feel great, are good for your skin, and leave you looking your best. Although there are many different types of pedicures with various steps, these are the essentials that they all have in common. Note: The order of the steps may change depending on where you get your pedicure and what type of pedicure treatment you are getting.
I. Remove Nail Polish

It might seem obvious to remove your current nail polish before starting your pedicure, but many people overlook this first step. Use a cotton ball and acetone polish remover to clear all of the nail polish off of your nails. Try your best to avoid getting too much of the acetone on your skin or cuticles as it can dry out your skin. Once you have completely removed the polish from your nails you are ready for the fun stuff.
II. Soak Feet

Fill up a basin, bowl, or foot spa with warm water. Use a bowl that you can put both of your feet into at the same time; who wants to be switching feet constantly? After you fill up the bowl with warm water, add soothing fragrances of your choice. Bubble bath mix and Epsom salts will do a lot to add to the experience, and you may even consider commercial foot soaks specifically made for pedicures. When you are done mixing the ingredients you want, dip your feet in and prepare to relax for the next 10 minutes or so. Soaking your feet softens your cuticles and makes them easier to remove.
III. Take Care of Cuticles

This next step requires either a cuticle stick or an orangewood stick which can be bought at your local beauty supply store. Remove and dry one of your feet. Gently apply and massage cuticle oil into bed of your nails. Take your cuticle stick and use it to carefully push back the dead skin. When you’re finished, rub a little more cuticle oil in and then repeat the process with the next foot. Although some salons and spas cut your cuticles during this part of the pedicure, it is not recommended that you take this approach at home. An untrained person may risk severe damage and infection when cutting their own cuticles.
IV. Exfoliate

Here is where you will work on softening up those calluses so they will be easier to handle in the next step. Exfoliation helps get rid of the dead skin on the surface of your feet so that fresher, healthier skin can be brought to the forefront. There’s plenty of exfoliating foot scrubs out there for you to experiment with or you can choose make your own. When you are ready, take your scrub and use it to massage one of your feet for 2-3 minutes. Return it to the bowl and exfoliate the next foot. Rinse off all of the excess foot scrub before moving on to the next step.
V. Treat Calluses
Calluses can be treated using callus stones or foot files. Scrub or file the bottom of your feet where the skin is the thickest. It is important to note that these tools should be used in an effort to smooth out the skin and not necessarily remove the callus. Calluses protect our feet and their removal can lead to painful blistering. If smoothing out your calluses starts to hurt at any point, you are going at it too hard and should either stop completely or take it easy.
VI. Trim and File Nails

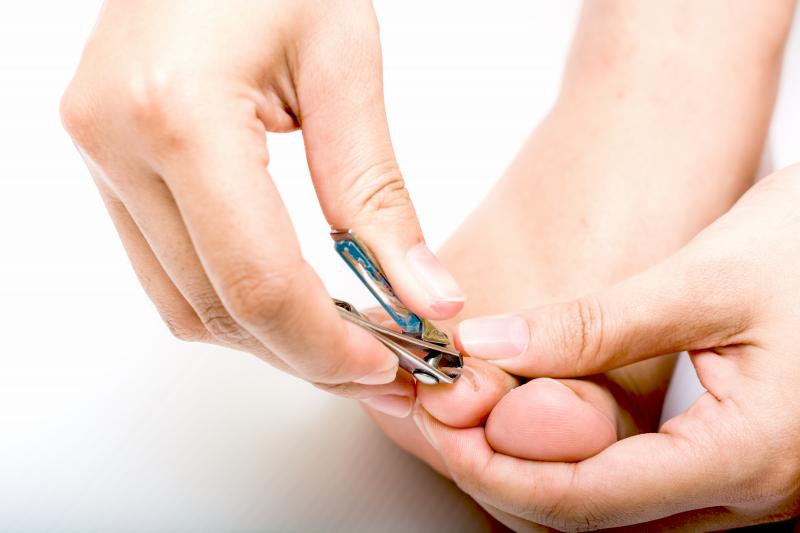
When you clip your nails clip straight across and use your file to achieve the desired shape. Don’t cut too close or you will risk an ingrown nail. When you file your nails, try to go for a square shape with rounded edges as opposed to an oval appearance which can also lead to ingrown nails.
VII. Massage Feet/Moisturize

You’ve been working hard, so give yourself a little break and soak your feet a bit more. Pick your favorite moisturizer and massage it into your feet. You are almost done!
VIII. Apply Polish/Let Feet Dry

Before you begin applying polish, take a cotton ball of nail polish remover and use it to remove any leftover moisturizer or oils left on your toe nails. Toe separators will make the application a whole lot easier, but if you don’t have them it’s not a problem. Lay down a base coat and wait a couple of minutes before adding your color coat. After adding your color coat you can either add another or finish off your pedicure with the final top coat. Don’t try to artificially dry your feet with a hair dryer or other technique. Relax for 15-20 minutes and your pedicure will be complete. What is better than giving yourself a pedicure? Having someone do it for you! The experts at K&Bs nails have mastered all of the techniques described above. Contact us today to schedule an appointment.
